I love everything white. True statement. Everything and anything white.
This is nothing new to those of you that know me or have been in my house.
I firmly believe that when in doubt just paint it white. Its always a win.
The only thing is though, sometimes white walls can seem unfinished if they have no visual appeal. Thats where trim work comes in. It adds the depth that a all white room needs. I mean what interior loving gal hasn't walked in to an old house with all the moldings and crown work and stood in awe of it all. Its all in the details my friends.
I love my house and I love that we built it but seriously it was still unfinished when it was finished, if you know what I mean. It needed that extra work to make it more us. More appealing to my eye.
I struggled with our main living area. Boy did I struggle. I must have changed the one wall in there a gazillion times in the last year and a half. Sorry no pics..this was before I started blogging about the house. I even purchased a giant piece of art for the wall (it weighed a ton) and had Brian hang it up, take it down, hang it up and take it back down again, before it eventually went back to the store! That man loves me is all I can say about that.
Then one day Brian and I were walking thru Crate and Barrel and I saw this awesome planked wall and thought....we're doing that!
Some Pinterest later and I had my sources
The funny thing is, when I came across those two first photos I realized that this is something I had wanted to do for years because I had seen this photo 7 years ago in a Cottage Living Magazine..look I still have it!
..oh how I miss that magazine, darn recession and all the lovely magazines that went down during it, so sad!
Anyway, so I had seen it years ago and I love it now just as much as I did then! Which brings me to another point....you want to know what everyone is going to have in their homes 10 years from now? Go pick up a home interiors magazine. Because I will bet you, that what you see will be mainstream in 10 years! Funny how that works.
Anyway, so I had seen it years ago and I love it now just as much as I did then! Which brings me to another point....you want to know what everyone is going to have in their homes 10 years from now? Go pick up a home interiors magazine. Because I will bet you, that what you see will be mainstream in 10 years! Funny how that works.
Okay back to the walls. After I got Brian on board with the project (again, he's such a good sport) we started doing our research. Thank you blog world and all your lovely tutorials on EVERYTHING!
This is the one we followed for our walls.
Side note: we used 2 nickels for the spacing and we used 8 inch planks. I was a little concerned about this but Brian assured me it would be fine and it is.
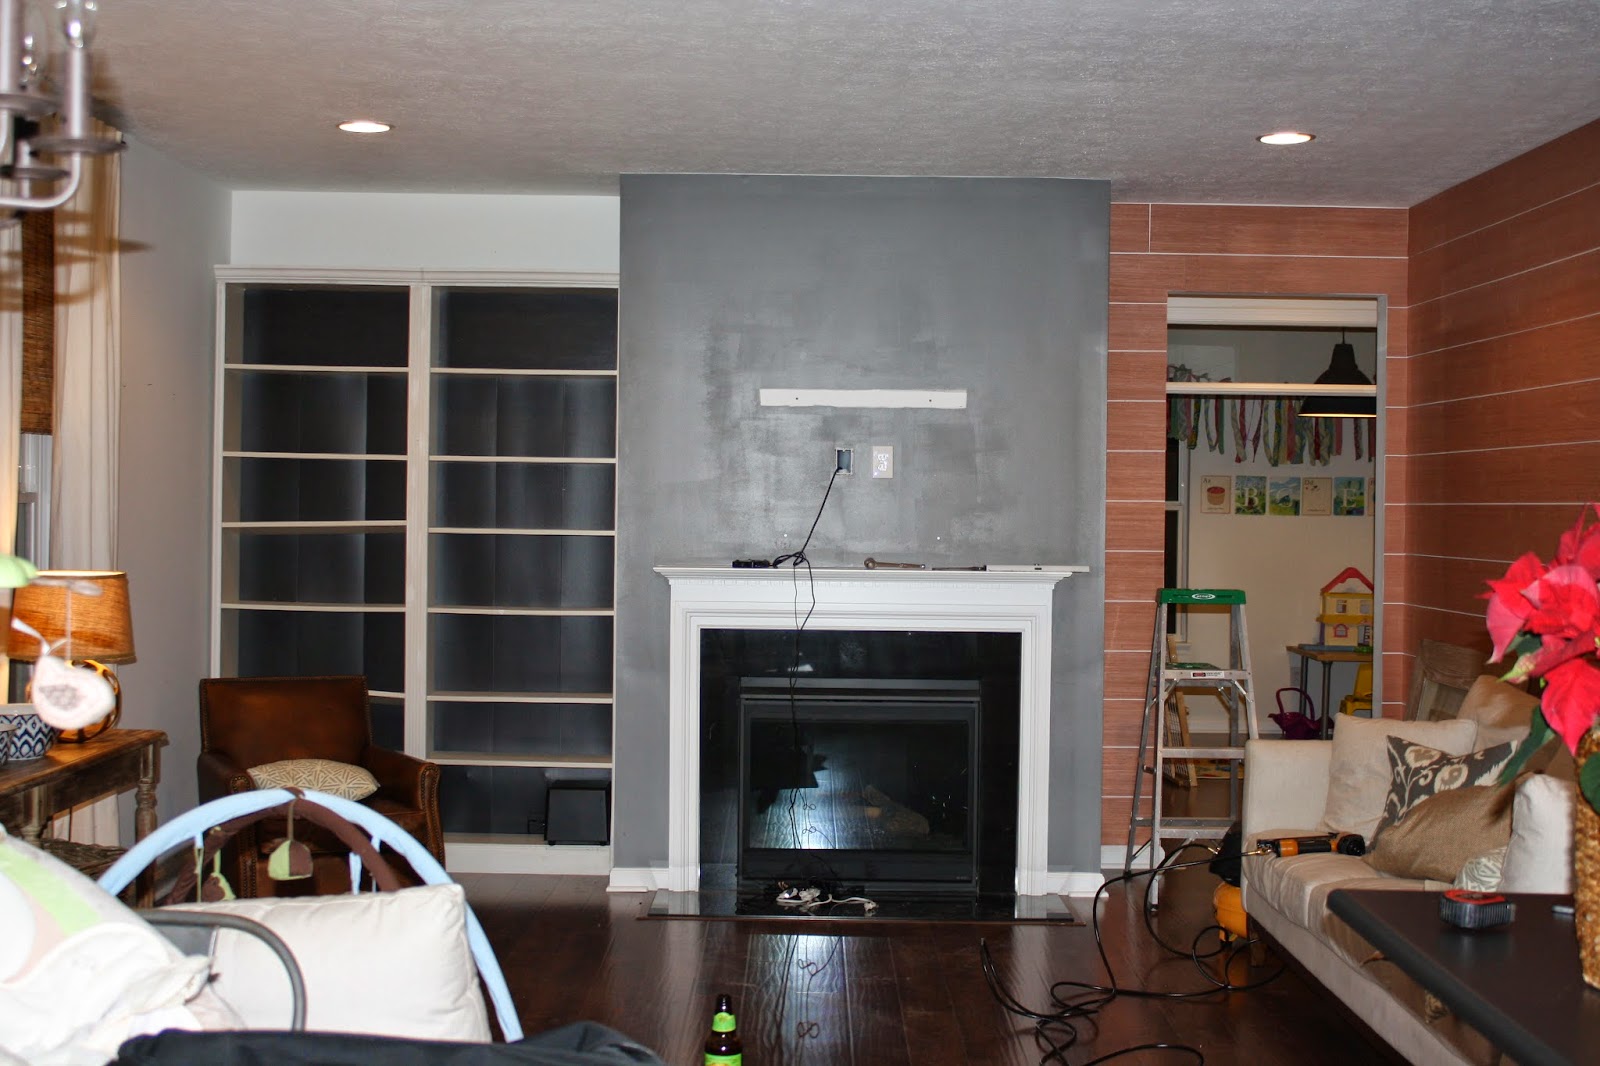
A before pic so you can see where the panels started going up. The bookshelves were still charcoal and that wall!! We painted the wall around the mantel grey on a whim...I hated it!
Let me give you a little tip...see that line where the seams meet.....DONT DO THAT! I would highly recommend you stagger your seams!
Because after all the wood filler and paint in the world it still looks like this
but I will get over it because it doesn't have to be perfect and I'm probably the only one who really see's it anyway.
Then you paint

...and paint

...and paint

...and paint it all WHITE

...and then cover up those darn seams with a giant canvas!


0 comments:
Post a Comment